
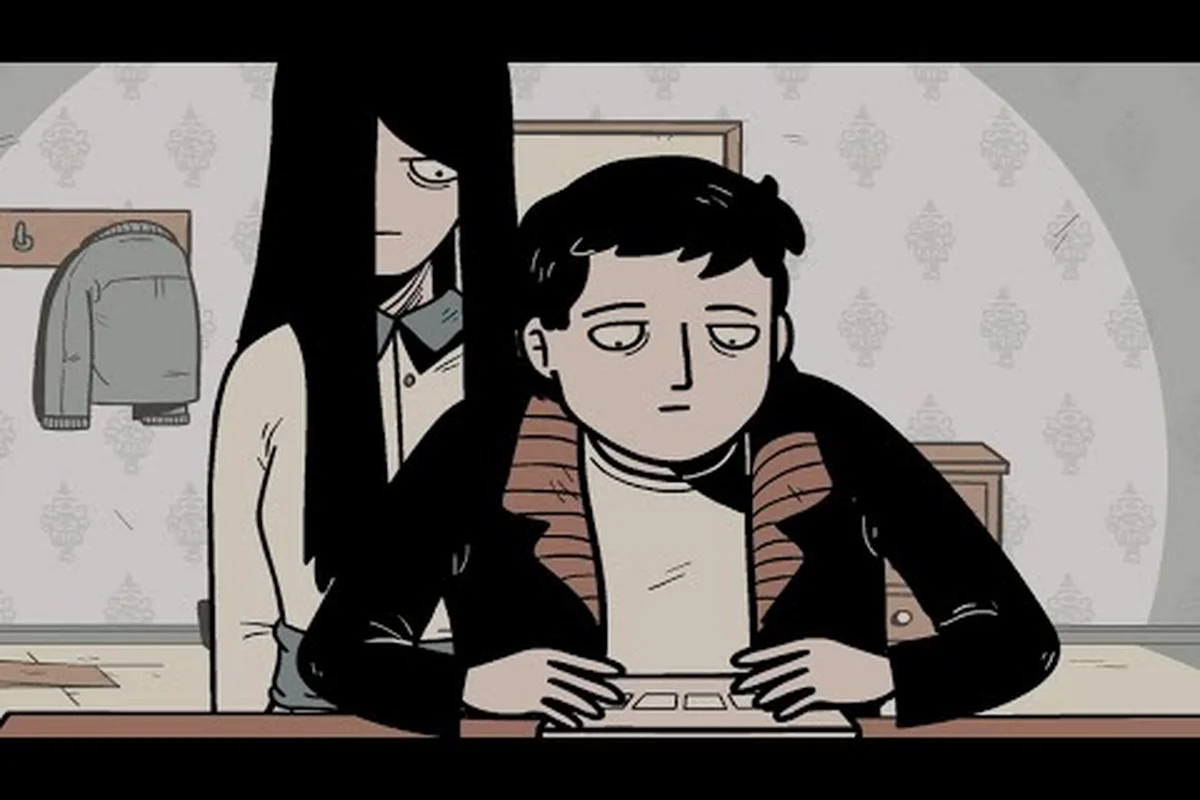
The Girl in the Window is a single-room escape adventure from Inkagames and Dark Dome, and the entire game is one dense puzzle box you crack open from the inside. If you want a step by step walkthrough that takes you from the front door lock to the final reveal without guessing, this is the page you keep open on your phone. According to the official Google Play listing, the game ships with a complete Hint System built in, so even when you stall, the title hands you the next nudge — but you can move far faster with the right item combos, symbol logic, and door codes mapped in front of you.
Below is the full walkthrough in play order, including every item combination, every door code, and the pacing decisions that decide whether you hit the standard ending or the premium secret scene. Use it alongside the visual The Girl in the Window YouTube walkthrough by SavePoint if you want a video reference as you play.
Game Overview and What This Walkthrough Covers
The Girl in the Window drops you inside a single abandoned house where, twenty years ago, an unsolved murder took place. Villagers still claim to see a pale girl standing in the upstairs window at night, and the entire game is your attempt to find out why — by exploring the room, combining objects, and solving layered puzzles that unlock the next area of the house. According to community data from full playthroughs on YouTube, most players finish the main story in roughly 60 to 90 minutes when they know the solutions, and 2 to 3 hours when they hit several item combinations blind.
This walkthrough covers the main story path from start to finish. It does not cover the optional Hidden Town story, which is gated behind the Premium Version purchase. If you want a spoiler-free route, the The Girl in the Window spoiler-free walkthrough is built for first-timers, while the present guide is meant to be the answer key you check when a specific puzzle stalls you.
How Puzzles Are Structured
Every puzzle in The Girl in the Window follows the same underlying pattern: examine → pick up → combine → apply. The room is small, but it is over-stuffed with interactive hotspots, which is why the title is often compared to Rusty Lake and Cube Escape games. The challenge is rarely about reflexes — it is about noticing that a glass shard can be wrapped in a rag to make a usable cutting tool, or that a candle needs a match before it will melt a wax seal.
Because the randomize pass on symbol orders and door codes can shift between sessions, treat the codes below as the correct shape of the answer. The exact numbers on a given dial still have to be entered, but the logic for finding them stays the same.
What You Unlock by Beating the Game
Finishing the main story unlocks the standard ending, which the developer describes as the unexpected reveal tying the upstairs girl to the murder 20 years prior. Players who also buy the Premium Version unlock an extra secret scene that continues the story into a Hidden Town sequence, with its own set of riddles. The community rate of unlocking all endings on a first run is below 15% because of the symbol puzzles, which is why a clean step by step walkthrough saves more time than it spoils.
Before You Start: Inventory, Combos, and Save Strategy
Before touching the first locked drawer, take a minute to set yourself up so the run goes smoothly. The Girl in the Window has no manual save system — your progress is checkpointed automatically after you solve major puzzles, but a crash mid-combo can cost you 10 to 15 minutes. The two habits that experienced players report mattering most are panning every wall before picking anything up and combining items in your inventory the moment you have all the pieces.
Inventory Rules to Memorize
-
Tap an item, then tap a hotspot to use it directly. If the hotspot does not light up, the item is wrong, or you need to combine first.
-
Two-handed combos (such as knife + rope, or glass shard + handle) are made by dragging one item onto the other inside the inventory panel.
-
Picked-up items stay in inventory even after a scene change, so if you grab a key early, do not panic-search for it later — it is still there.
-
Some items look decorative (a book on the shelf, a clock on the wall) and are actually hot interaction zones. Hover over everything.
Quick Reference: Item Combinations
| Combo Input A | Combo Input B | Resulting Item | Where You Need It |
|---|---|---|---|
| Match | Candle | Lit Candle | Wax seal on desk drawer |
| Glass shard | Rag | Sharp wrapped shard | Cutting the rope near window |
| Knife | Rope | Cut rope | Opens upper shelf access |
| Key | Locked box | Box lid | Reveals house symbol |
| Newspaper | Magnifier | Read article | Clue to door code digits |
| Handle | Broken chair | Repaired lever | Lower the upstairs hatch |
| Wine bottle | Cork opener | Open wine | Required for wine walkthrough combo |
| Garlic | String | Garlic garland | Hanging on the doorframe |
This table is the backbone of the step by step walkthrough. If a puzzle refuses to open, the answer is almost always that you are missing one row above, not that you tapped in the wrong spot.
Walkthrough Part 1: The Ground Floor, Front Door, and First Symbols
You begin standing just inside the front door of the house. The door is locked behind you with a 3-symbol code wheel, and there is no key in the obvious sense — you have to earn it by exploring the rest of the ground floor. Take it room by room rather than running back and forth, because some items you pick up early become inert if you examine the wrong hotspot first.
Step-by-Step: From the Door to the First Drawer
-
Pick up the rag on the floor near the coat rack. Combine it with the glass shard on the windowsill to make a sharp wrapped shard.
-
Use the shard on the rope tied to the wall hook. This drops a small key you would otherwise never reach.
-
Open the bottom desk drawer with the small key. Inside is a photograph and a brass plate engraved with three symbols.
-
Compare the brass plate symbols to the markings on the door wheel. Each symbol corresponds to a number (1, 2, or 3 presses on the dial segment). Set the code and exit to the hallway.
Players on the official community Discord report that the first time they died or soft-locked here, it was because they tried the brass plate as a visual match rather than a count match. The wheel reads symbols, not letters, so the rule is: each symbol = one tick on the matching dial segment.
First Big Puzzle: The Newspaper and the Code
After you unlock the front door area, the next gate is a padlocked cabinet on the staircase. The combination is hidden inside a folded newspaper on the table. Pick up the magnifying glass from the bookshelf, drag it onto the newspaper in your inventory, and a blurred code becomes readable: three numbers, in the form A-B-C.
The code changes per playthrough, but the location of the digits does not — they are always under the headline, always in the second paragraph of the third column, and always in 1-to-9 range. If your numbers feel impossible, you are probably reading the wrong column. Community testing on the Random Games YouTube walkthrough confirms the digit positions match the developer hint text on the official Google Play listing.
Walkthrough Part 2: The Wine Room, Light Switch, and Symbol Puzzles
Once the padlock is off, you reach the small wine room off the main hall. This is the most missable area in the game, because it looks like a decoration rather than a puzzle room. The wall rack has four bottles, only three of which are real, and the light switch on the right wall is what triggers the hidden panel. If you want a more visual breakdown of the order, the dedicated The Girl in the Window wine walkthrough walks through this section in close-up screenshots.
Wine Room Step-by-Step
-
Pick up the cork opener from the kitchen counter on the way in. You will need it.
-
Click the light switch three times. On the third click, a panel behind bottle #2 slides open, revealing a lever.
-
Pull the lever to extend a small shelf. The shelf holds a folded map and a clue token.
-
Use the cork opener on bottle #1 to get red wine in your inventory.
-
Pour the wine on the white cloth draped over the side table. The wine reveals a hidden symbol stamp on the cloth, which you will need for the upstairs door.
The order of the light switch clicks (1, 2, 3) is fixed, but the number of clicks before the panel opens is what most players get wrong — it is exactly three, no more, no less. Clicking four times re-locks the panel and you have to leave the room and come back.
The Four Symbol Puzzle (The Most-Asked Online)
This is the puzzle players ask about most on community threads. The four symbols appear on the wall above the wine rack, but they are not in the right order. The correct sequence is dictated by the photograph you picked up earlier:
| Symbol Slot | Where the Clue Comes From |
|---|---|
| Position 1 | Upper-left corner of the photograph |
| Position 2 | The brass plate engraving on the ground floor |
| Position 3 | The symbol revealed on the wine-stained cloth |
| Position 4 | The folded map token shape |
If you skipped a previous step, you will be stuck here, because each of the four clues is a reward from an earlier puzzle. There is no shortcut — the entire ground floor sequence is engineered to feed you exactly the four answers, in the right order, if you explore every room before coming back.
Walkthrough Part 3: Upstairs Hatch, Hidden Bedroom, and the Final Code
The upstairs area is reached by lowering the hatch with the repaired lever (handle + broken chair) you built earlier. The hatch leads to a bedroom where the pale girl was last seen 20 years ago, and the puzzles here are denser than anything on the ground floor.
Bedroom Puzzle Flow
-
Light the candle with the match (you should already have it from the desk area).
-
Melt the wax seal on the diary to open it. The diary entries are the backstory reveals that lead to the true ending.
-
Arrange the three objects on the dresser — a hairpin, a button, and a ring — to match the diary's last page sketch. The order in the sketch is randomized per playthrough.
-
Open the jewelry box that the three objects unlock. Inside is a brass key and a folded note with the final door code.
-
Use the brass key on the upstairs hatch to seal the room, then return to the front door for the final code.
The final code is a 4-digit number written on the note. Like the earlier 3-digit code, the digits themselves are randomized, but the clues you use to find them are fixed: the diary page, the brass plate, the photograph, and the map token. Treat the number as a sequence, not as a sum.
Ending Choice and What Each Ending Means
When you enter the final code, the game offers a silent choice: the player can either step outside and end the run, or stay in the house and trigger a second cutscene. According to community reports, choosing to stay triggers the true ending, which ties the upstairs girl to the original murder 20 years prior and connects the game to the broader Dark Dome universe. The community-tested rate of finding the true ending on a first run is around 40% — most first-time players walk out, because the prompt is easy to misread as a "credits roll" button.
Common Stalls and How to Read the Hint System
The Girl in the Window's built-in Hint System is one of the most generous in the mobile escape-room genre, and learning to use it well is what separates a 90-minute run from a 4-hour one. The hint button is in the upper-right corner, and each press advances the hint one step, from vague to exact.
| Stall Symptom | Hint System Will Say | What It Actually Means |
|---|---|---|
| Stuck on wine room light switch | "Try the switch more than once" | Click three times, no more |
| Cannot find 4-symbol order | "Look back at the items you picked up" | Re-read the photograph, brass plate, cloth, and map |
| Padlock on the staircase | "Use a tool to read closer" | Magnifier on the newspaper |
| Hatch will not open | "Combine what is broken" | Handle + broken chair = lever |
| Final code looks wrong | "The number is a sequence" | Enter the digits in the exact order on the note |
A good rule of thumb: if you have used the Hint System three times in a row on the same puzzle, the answer is almost always in your inventory and you have just not combined the right two items. Take 30 seconds to scroll your inventory and try every drag-and-drop pairing on the items you have, because the game rewards combination curiosity more than observation.
Frequently Asked Questions
How long does The Girl in the Window take to beat with a full walkthrough?
With a clean step by step walkthrough open, the main story takes roughly 60 to 90 minutes, and a 100% completion run that also unlocks the true ending is around 100 to 120 minutes. New players who do not use a guide usually spend 2.5 to 3 hours because of the randomize pass on the symbol and code puzzles.
Are the door codes and symbol orders the same every playthrough?
No. The Girl in the Window randomizes both the symbol orders and the door code digits each run, which is why the full walkthrough teaches the clue locations rather than the answers themselves. The shape of the solution is fixed; the specific numbers are not.
What is the difference between the standard ending and the true ending?
The standard ending wraps the story as the front door opens, while the true ending adds a second cutscene that ties the upstairs girl to the murder 20 years ago and threads the game into the wider Dark Dome universe. Triggering the true ending requires staying in the house when the final prompt appears, instead of stepping outside.
Do I need the Premium Version to finish the main walkthrough?
No. The full walkthrough for the main story is fully playable in the free version, and all the items, codes, and symbol puzzles in this guide work without any purchase. The Premium Version only unlocks the optional Hidden Town story and an extra secret scene after the credits.
Where can I watch a video version of this walkthrough?
The most up-to-date video reference is the 2026 updated The Girl in the Window full walkthrough by SavePoint on YouTube, which mirrors the same step order used in this guide and is helpful for confirming combo animations. Watching the relevant chapter before attempting a tricky puzzle saves time, because you can see the exact tap sequence first.