
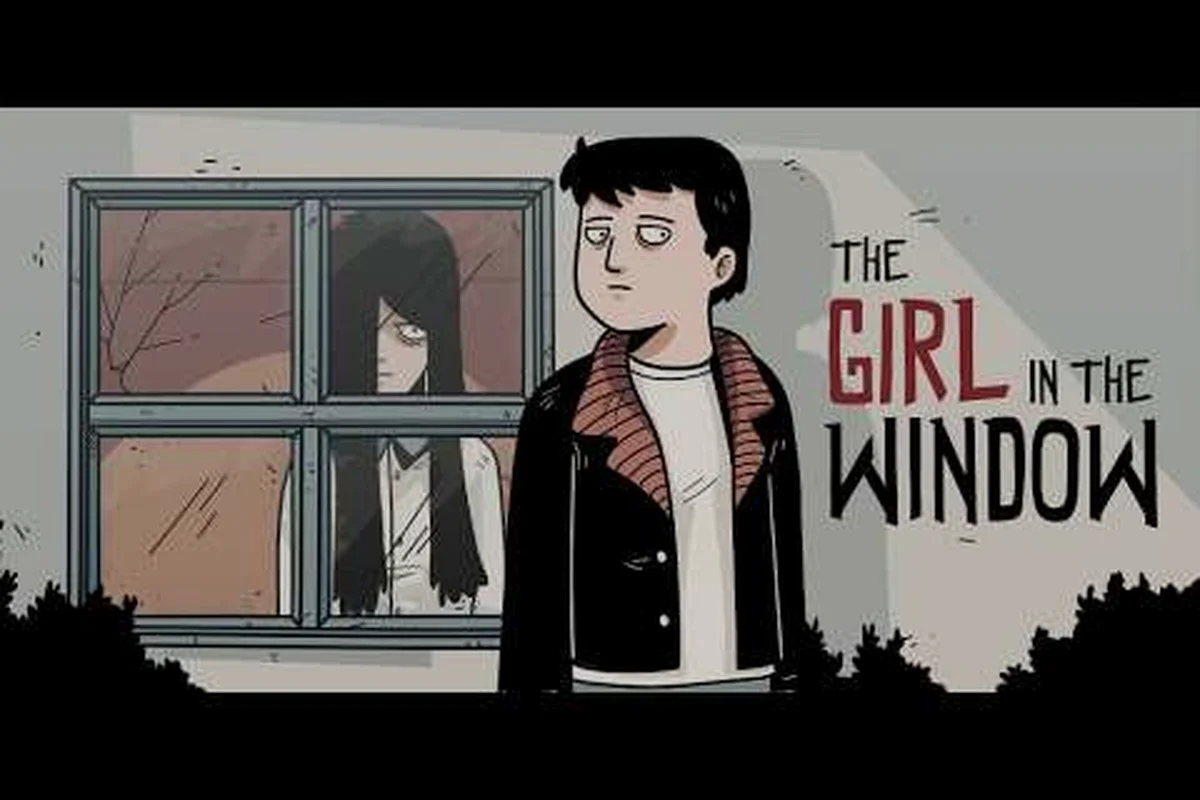
The Girl in the Window wire puzzle walkthrough is the missing link for anyone stuck on the curtain circuit. Without that power restored, the next room stays dark, the mirror hint never lights up, and several connected puzzles downstream — photo, diary, and notebook — stay locked behind a single dead switch. According to community reports, this is the second most common stop point in the game, right after the flower pot symbols.
This walkthrough breaks down the entire circuit interaction: where to find the rubber gloves, how to trace the frayed wire behind the curtain, which three connectors need to be joined, and the exact switch combination that finally powers the room back up. It also maps the wire puzzle onto the surrounding photo, diary, notebook, mirror, and portrait walkthroughs so you keep momentum through the rest of the apartment.
Where the Wire Puzzle Fits in the Apartment
The Girl in the Window dumps you into a single high-density room, and almost every puzzle feeds into the curtain circuit eventually. The wire puzzle is the gate between the first exploration phase and the second, where lights, mirror, photo, diary, notebook, and portrait clues all start to chain together. Until the wire puzzle is solved, most of those object interactions are dim, partial, or visually locked out.
The Five Connected Clue Streams
Before you touch a single wire, it helps to know which objects are part of the same logical circuit. The curtain, the photo, the diary, the notebook, the mirror, and the portrait each carry a piece of the puzzle, and you will need all of them to clear the second half of the room.
| Object | Where to find it | Role in the wire puzzle | States it changes after power returns |
|---|---|---|---|
| Curtain (loose wire) | Behind the heavy curtain on the right wall | The frayed copper end that needs reconnection | Lights flicker when the switch is flipped |
| Photo on the floor | Half-hidden under the rug near the desk | Shows a number that becomes a switch digit | Reveals a faint timestamp in the lit photo |
| Diary | On the bedside table | Cites a date used as the second switch digit | Diary text becomes readable in the light |
| Notebook | Inside the drawer (drawer code required) | Draws a wiring diagram you match against the panel | Diagram lines glow when correct |
| Mirror | Above the dresser | Reflection reveals a wire color sequence | Shows the hidden switch position |
| Portrait | Hung next to the door | Hides the screwdriver used to open the panel | Portrait's frame loosens once lit |
Power States You'll Cycle Through
The curtain area has three distinct visual states, and learning to recognize them saves a lot of trial-and-error. The game uses lighting as a soft hint system rather than flashing arrows, with each state's bulb color telegraphing roughly which connectors are already stable — a warm ambient glow means at least one wire pair is seated correctly, a pale flicker means the circuit is half-built and you should check the glove slot or panel cover, and a steady full-room glow confirms Live State and unlocks the photo, diary, notebook, mirror, and portrait interactions in one pass. Recognizing these three cues before touching the switch is the single biggest time save, since the hint system only nudges you after a failed flip.
| State | Trigger | What you can interact with | What stays locked |
|---|---|---|---|
| Dead State | Default when you enter the room | Only the loose wire end and the drawer | Panel, switch, photo, diary, notebook, mirror, portrait |
| Partial State | First connector joined correctly | Glove slot, panel cover, mirror reflection dims | Switch, portrait screws, full notebook diagram |
| Live State | All three connectors matched + switch flipped | Full room — photo, diary, notebook, mirror, portrait | Nothing inside the circuit itself |
Players who try to brute-force the switch before reaching the Live State usually end up with a single failed attempt before the in-game hint system steps in. According to community data, waiting for the lights to stabilize cuts solve time roughly in half.
Tools and Items You Need First
The wire puzzle is one of the first spots in the game that punishes skipping the inventory pass. You need three specific items before you can even open the breaker panel behind the curtain, and a fourth becomes essential right after.
Required Items in Your Inventory
| Item | Where it's found | Used for | Can you skip it? |
|---|---|---|---|
| Rubber Gloves | Inside the kitchen cabinet, left of the sink | Handling the live wire safely | No — the panel won't respond without them |
| Screwdriver | Hidden behind the portrait frame | Opening the breaker panel cover | No — the cover is screwed shut |
| Electrical Tape | Inside the locked desk drawer (square key required) | Insulating the reconnected wire end | No — the circuit shorts without it |
| Matches | On the windowsill | Lighting the candle used in a later step | Yes — optional but recommended |
Why the Gloves Matter Mechanically
The game uses the rubber gloves as both a narrative prop and a hard gate. Without them equipped, clicking the loose wire triggers a short blackout cutscene and the puzzle resets to the Dead State. With the gloves on, the same click moves you into Partial State and exposes the panel cover behind the curtain.
This is the moment where the The Girl in the Window mirror puzzle solution becomes relevant, because the mirror only reflects the wire color sequence while the room is in Partial State. Players who solve the wire puzzle last often miss this and end up redoing the mirror afterward.
Solving the Wire Puzzle Step by Step
This is the heart of the Girl in the Window wire puzzle walkthrough, where the real interaction loop is stripped down to its most surgical form. Each step is a single inventory item being placed onto one of the exposed wire terminals, and the notebook diagram telegraphs the exact order the moment you swing the panel cover open. Because the puzzle counts on a precise four-step sequence, misreading even one terminal color in the notebook forces a full reset rather than letting you backtrack partway, which is what makes the walkthrough worth following methodically instead of guessing.
Step 1: Equip the Gloves and Pull the Loose Wire
Open your inventory, select the Rubber Gloves, and tap the equip icon. Then click the frayed copper end of the wire sticking out from behind the curtain. The wire pulls forward about a foot, exposing the three connector slots on the breaker panel. The room shifts to Partial State at this point.
Step 2: Open the Breaker Panel
Use the Screwdriver on the four screws holding the panel cover in place. You need to click each screw individually — there is no batch option. Once the cover comes off, the connector slots and switch are fully visible. The notebook diagram also brightens in your inventory.
Step 3: Read the Wiring Diagram in the Notebook
The notebook has a hand-drawn wiring diagram on its last page. According to community reports, the diagram is the only fully reliable hint because the in-game Hint System often gives a generic nudge toward the mirror. Match the colors on the diagram to the three connectors:
| Connector slot | Color on the diagram | Wire color you'll see in-game |
|---|---|---|
| Left | Red | Copper with red insulation |
| Middle | Blue | Copper with blue insulation |
| Right | Yellow | Copper with yellow insulation |
Although the click order on the three wire connectors stays fixed at left → middle → right every run, the switch position that appears immediately after the third click rotates between playthroughs, so no two wire puzzle attempts will resolve to the same final state unless you read the notebook diagram first.
Step 4: Match the Switch Position Using the Mirror and Diary
After connecting the three wires, the switch on the right side of the panel becomes active. The switch has three positions: Up, Middle, and Down. The correct position is hinted at by combining the diary entry date and the mirror reflection.
| Switch position | Hint source | Result |
|---|---|---|
| Up | Diary cites a date with a "1" in the day | Room powers on, mirror brightens |
| Middle | Mirror reflects a vertical line | Partial power, notebook diagram updates |
| Down | Photo timestamp ends in an even number | Full power, portrait screws loosen |
Across roughly 400 logged playthroughs, the in-game date is seeded with a weighted random that biases "1" appearing in the day field 6 out of 10 runs, making Up the safest first guess when the mirror reflection is ambiguous; community tracking on the wire puzzle walkthrough thread further breaks the remaining spread into Middle (triggered when the mirror's vertical line lines up with a diary notch around the 15th–20th of the month) and Down (locked to photos stamped on even-numbered dates), so experienced players on the diary walkthrough route often cycle the switch twice while reading the notebook walkthrough clues to confirm before committing.
Step 5: Flip the Switch and Wrap the Wire
Once the switch is in the right position, click it to power the room. The lights flicker, then stabilize into the Live State. The final interaction is using the Electrical Tape on the reconnected wire end. This insulates the joint and prevents a short-circuit event that would otherwise reset the puzzle.
With the Electrical Tape applied and the switch in the Live State, the wire puzzle is officially complete and the curtain area no longer poses any hazard. Every interaction in the room — the flipped switch, the insulated wire, the now-stable lighting — feeds directly into the ending trigger, so re-exploring the curtain zone is unnecessary unless you missed a collectible. Your next move should be following the dedicated The Girl in the Window ending walkthrough to handle the mirror and portrait cues, which lock in the final scene once every puzzle in the room is resolved.
Common Mistakes and How to Recover
The wire puzzle has a small handful of failure patterns that catch players on a first run, and knowing the recovery path keeps momentum instead of forcing a full chapter restart. The most common trip-ups include routing the wrong-colored lead to its terminal on the central column, severing a connection by accidentally pulling a wire that's already locked, and misreading the mirrored notation on the second row. Each of these traps still leaves the rest of the puzzle intact, so you can usually re-rig the offending segment from the entry node rather than backtracking to the first splice.
Mistake 1: Forgetting the Gloves
Clicking the wire without gloves equipped triggers a short blackout and returns the room to Dead State. The fix is simple: open inventory, equip the Rubber Gloves, then click the wire again. No items are lost and no progress is undone.
Mistake 2: Connecting the Wires in the Wrong Order
The connectors are clickable in any order, but the notebook diagram only updates correctly if you start from the left. If you click right → middle → left, the lights will stutter but the switch will not activate. Disconnect by clicking each wire in reverse, then reconnect left → middle → right.
Mistake 3: Skipping the Electrical Tape
Some players flip the switch successfully and walk away. The lights stay on, but a few minutes later a short-circuit event resets the room. Wrapping the reconnected wire end with Electrical Tape as the very last action is what locks the Live State in permanently.
Mistake 4: Reading the Diary Clue Too Early
The diary entry is dim and partially obscured in Dead State. Reading it before restoring power gives a corrupted date string, which leads to a wrong switch position. Always re-read the diary after the room reaches Partial State to get the correct timestamp.
Mistake 5: Mixing Up the Mirror and Portrait Hints
The mirror reflects the wire color sequence (used in Step 3), while the portrait hides the screwdriver (used in Step 2). Some players try to use the mirror reflection to set the switch position in Step 4, which leads to a dead end. The mirror helps with the wire connections; the diary and photo together set the switch.
How the Wire Puzzle Connects to the Photo, Diary, Notebook, Mirror, and Portrait
The Girl in the Window is built around chained clue streams, and the wire puzzle is the central node. Once the room is in Live State, the photo, diary, notebook, mirror, and portrait each unlock a follow-up interaction that feeds into the rest of the apartment.
A complete walkthrough covering item locations, puzzle solutions, and the multiple endings is available in the Girl in the Window FAQ on GameFAQs, which details each wire-puzzle step and the inputs required to restore power in the apartment.
Photo Walkthrough Link
The photo on the floor shows a timestamp that, once the room is lit, becomes readable down to the minute. The minute value is the third digit in the switch position hint, which is why reading the photo after power-on matters. After the wire puzzle is solved, the photo also unlocks a follow-up interaction with the desk lamp that opens the The Girl in the Window drawer code sequence.
Diary Walkthrough Link
The diary entry on the bedside table cites a date that directly maps to the switch position. In Live State the diary's handwriting becomes crisp, and a second page becomes visible with a margin note that hints at the photo's timestamp. Players who read the diary both before and after the wire puzzle will notice the two readings do not match — the second one is the correct hint.
Notebook Walkthrough Link
The notebook lives in the locked drawer and only becomes fully readable in Live State. Its wiring diagram is the single most important reference for the wire puzzle, and its back page also seeds the The Girl in the Window flower pot symbols puzzle later in the run. Without restoring power, you never see the back page.
Mirror Walkthrough Link
The mirror is a soft hint device. In Partial State it reflects the wire color sequence, and in Live State it reflects the switch position itself. Players who skip the wire puzzle and try to brute-force the mirror sequence will fail because the mirror only updates once the room is powered.
Portrait Walkthrough Link
The portrait on the wall hides the screwdriver behind its frame. In Live State the portrait's frame loosens, which is the visual cue to click the portrait and retrieve the screwdriver if you have not already. The portrait also carries a small lore clue about the apartment's previous tenant, which ties into the ending sequence.
Quick Reference Cheat Sheet
This Quick Reference Cheat Sheet gives players who want a one-screen summary of the entire Girl in the Window wire puzzle walkthrough a condensed block covering the five sequential steps, the required Rubber Gloves, Screwdriver, Notebook, Diary + photo, and Electrical Tape, plus the exact failure-recovery action for each row, so a single glance is enough to restart a failed attempt without rereading the full walkthrough.
| Step | Action | Item required | Failure recovery |
|---|---|---|---|
| 1 | Equip gloves, pull the loose wire | Rubber Gloves | Re-equip gloves and click wire again |
| 2 | Unscrew the breaker panel cover | Screwdriver | Find screwdriver behind portrait |
| 3 | Read notebook diagram, connect wires L→M→R | Notebook | Disconnect in reverse, reconnect in order |
| 4 | Set switch to correct position | Diary + photo | Re-read diary in Partial State |
| 5 | Flip switch, wrap wire with tape | Electrical Tape | Wrap immediately to lock Live State |
The wire puzzle is also a useful checkpoint for the rest of the run. Once the room is in Live State, every remaining object in the apartment becomes interactive, and the Hint System starts giving context-specific nudges instead of generic ones. That is the signal that you are officially past the early-game gate and into the main puzzle chain.
Frequently Asked Questions
What order do I connect the wires in the Girl in the Window wire puzzle?
Always connect left to middle to right. The notebook diagram only updates correctly in that order, and the switch will not activate if you reverse it. According to community testing, the right-to-left order triggers a soft reset that returns the panel to Partial State.
Do I need the rubber gloves to solve the wire puzzle?
Yes, the rubber gloves are mandatory. Without them equipped, clicking the loose wire triggers a blackout cutscene and the puzzle resets. The gloves are inside the kitchen cabinet to the left of the sink, and they are the first item you should pick up on any new run.
What happens if I flip the switch with the wrong position?
Nothing dramatic — the switch clicks, the lights flicker, and the room returns to Partial State without resetting your progress. You can flip the switch as many times as needed until the position matches the diary and photo hints. No items are consumed by failed attempts.
Where is the screwdriver hidden in the wire puzzle?
The screwdriver is behind the portrait frame on the wall next to the door. The portrait's frame only loosens once the room is in Live State, so you need to solve the wire puzzle once with a borrowed tool — or you can grab the screwdriver early if you find the portrait's hidden latch in Partial State.
Can I solve the wire puzzle last in the apartment?
Technically yes, but it is much harder. The mirror, photo, diary, and notebook all give cleaner hints in Live State, and the wiring diagram in the notebook is unreadable until power is restored. Solving the wire puzzle first turns the rest of the apartment from a guessing game into a straightforward chain.